Linda made this totally amazing steampunk mini album - you should really go check it out! I was lucky to get to see it in RL, and it absolutely blew me away! Polymer clay has such endless possibilities, and it's so much fun to work with :)) Please check out her tutorials and her work, she has a channel on youTube, and you'll find the links on her blog.
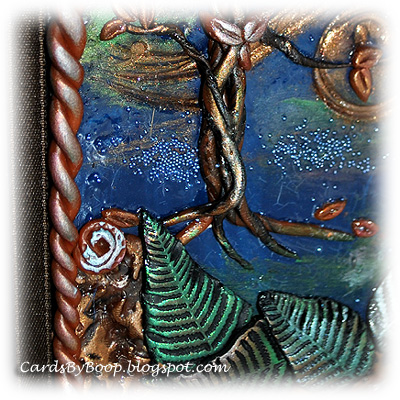
I wasn't really sure what to create - I wanted to do something quick at first, not some large project that would probably end up half done. I made a few accents and then I made this book cover for a cheap notebook I had on my desk. It was done in a few hours, and I love how it turned out.
The polymer image was made as one large panel, and then glued on to the book cover when cured. It's best to glue it down while still warm. It may bend while cooling down on it's own, and it will break if you try to flatten a cold piece.
I pierced an old dragonfly brad into the clay. I still find these really pretty :)
I sprinkled some blue microbeads on the background, and pressed them gently into the clay, but they didn't really stick very well. But varnishing the piece with crackle accents when cured, did the trick.
My next project should be a larger one. I do have a lot of clay to get rid of...
Thanks for visiting! :))


9 comments:
Pretty, pretty!!
Its wonderful to see you blogging again :) Very creative and wonderful!
Nydelig arbeid! Så flotte detaljer!
Hanne
That's gorgeous!
oh wow this is beautiful :)
This is stunning and very beautiful.
susan s.
I just love your book cover, so very creative!
I'm making a chipboard album for the first time. How do I actually put the Polymer Clay onto the actual chipboard? When you say cure, does that mean with a heating tool? I seen a lot of tutorials but nothing shows how can I apply my embellishments to my chipboard book.
Lovette Antionette, thank you for stopping by! I think I glued this one on with some Diamond Glaze glue. It would be smart to make a few small holes in the polymer motif, so that the glue can get a good grip some places (I didn't do this, but I would if I made another one). It is also smart to rub a little with sand paper on the back after curing. I cure the polymer clay in the stove. Just follow the instructions on the polymer clay package. Good luck!
Post a Comment